Sunday, July 31, 2011

Found it

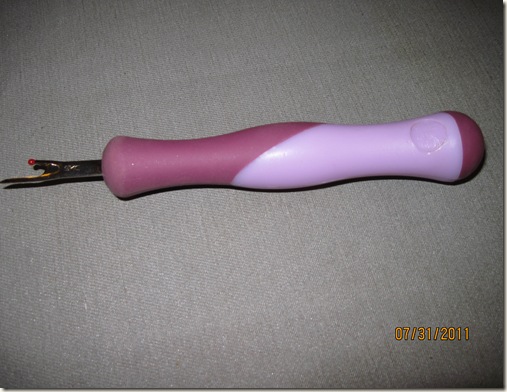
  Yes, my favorite seam ripper has been found.  Hurrah.  I can make mistakes again.IMG_1104

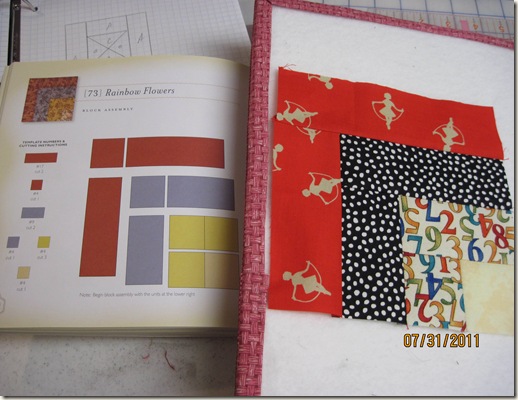
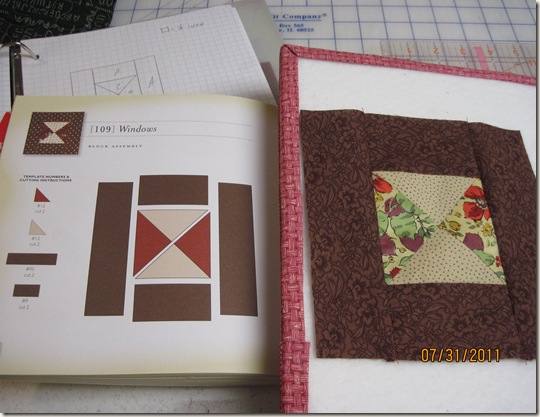
Today I made two more Farmer’s Wife blocks – very simple ones.

Block 73 – Rainbow Flowers

IMG_1103-1

And Block 109 – Windows 

IMG_1101-1

Now if I could just find that missing thimble…………

Bonnie

Saturday, July 30, 2011

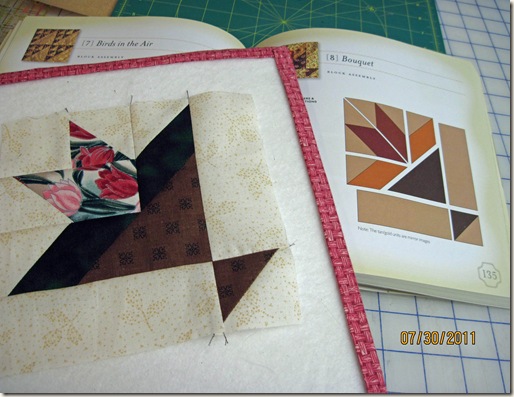
Block #8–Farmer’s Wife

This picture is not very good in that you cannot tell the true colors.  There is a band across the top of the basket where I placed some green fabric to represent the leaves of the tulips.  The picture makes it look almost black.

IMG_1100_edited-1

It truly looks much better in person.  This is the first block I made using the drafting and rotary cutting instructions found on Bee In My Bonnet’s blog.   Of course I made a few mistakes, but even with the mistakes it was so much easier than using the templates.

To anyone paying attention to my blog, you will notice that I skipped right over Block #7.  Why?  There are 40 tiny pieces in that block, that’s why.  I think I will wait and do that one when I am feeling more confident.

Has anyone seen my good seam ripper?  I lost it somewhere in my quilt studio.  I really want to find it.  Several weeks ago I also lost my very favorite thimble.  I keep hoping it will show up under a chair or cushion.  As soon as I go out and buy these essential items, they will reappear I’m sure.  In the meantime, I am using an old dull seam ripper and a thimble that keeps falling off.  Sigh.

Bonnie

Saturday, July 23, 2011

Hot glue and other projects…..

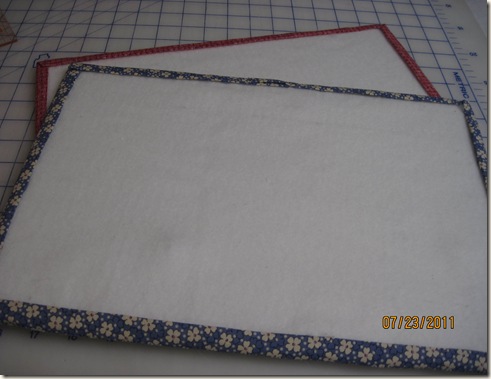
Quite a few blogs that I read have been showing little design boards for laying out blocks.  These little boards can then be easily transported to the sewing machine for assembling the block without losing pieces along the way.  (The original instructions/tutorial can be located here – Tutorial #1 and Tutorial #2 – at the Bee In My Bonnet Co. blog.)

Here are my version of the design boards.

IMG_1089

They don’t look too bad, but let me tell you, a hot glue gun in my hands is dangerous.  I ended up with more glue on my fingers and hands then on the edges of the board.  After burning myself several times, I decided to try a different kind of glue.  In my arsenal was a brand new can of spray-on glue which might work fine for a large area, but trying to aim it at the edges was down right silly.  A bottle of liquid glue ended up being the best bet for me even though that was messy too.  I needed a lot of Goo Gone to clean up my hands!

~~~~~~~~~~~~~~~~~~~~~~~~~~~~~~~~

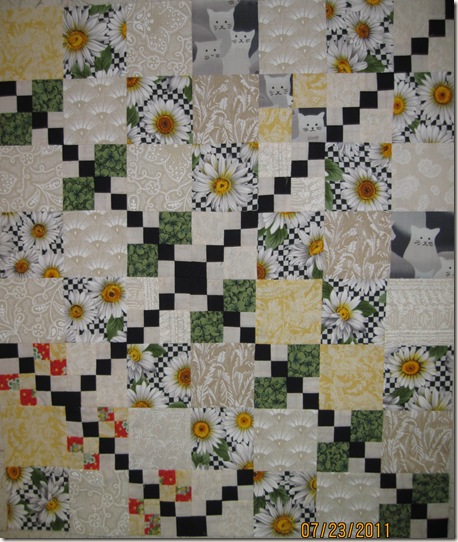
This is a quilt top I made many moons ago at a class led by Mary Ellen Hopkins of It’s OK If You Sit On My Quilt fame.

IMG_1093_edited-1

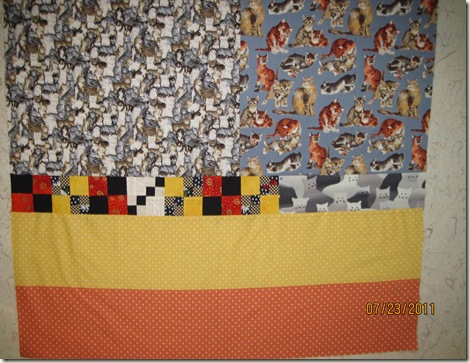
It was on my UFO list.  I could have added more blocks or borders, but I decided it was good and instead made a pieced backing so that I can get it quilted.

IMG_1091

Using up leftover blocks and scraps of fabric makes me happy.  When the quilt back is almost as interesting as the quilt front, it makes me smile.  I also seem to have an endless supply of cat fabric scraps!

Bonnie

Friday, July 22, 2011

Backing

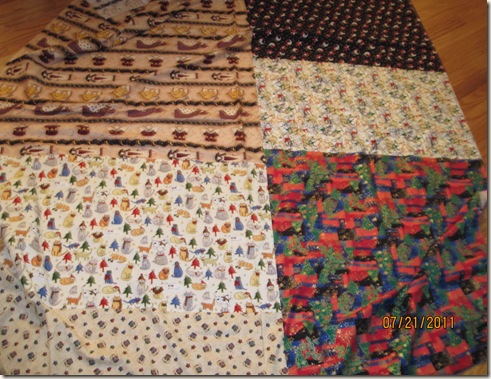
Here is the pieced backing

IMG_1087

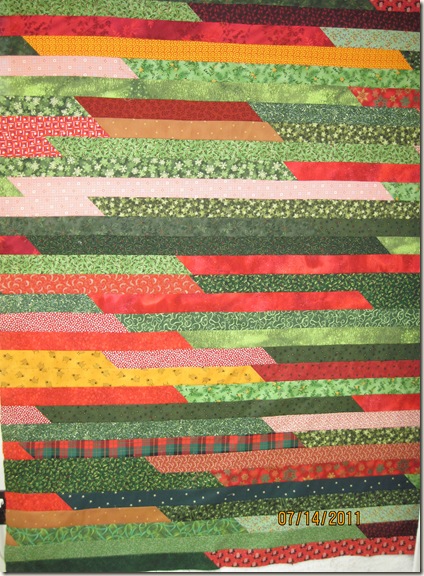
for my “Jelly Roll” Christmas quilt

IMG_1083

(see prior post http://bonnieweighsin.blogspot.com/2011/07/another-top-done.html for details)

Also, please note that I have a new profile picture.  My cousin took this picture and her husband kindly “photoshopped” it to remove the distracting background.  Now, if he could just take some years off……..

Bonnie

Wednesday, July 20, 2011

Bringing back an old project….

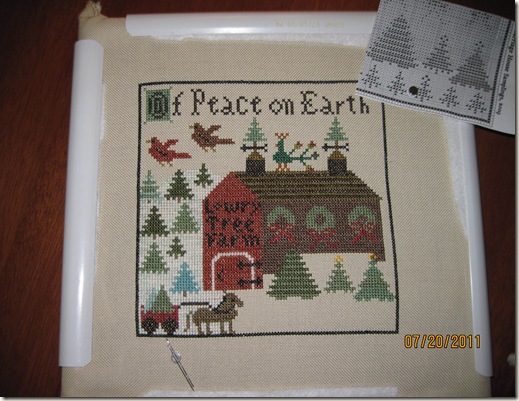
Today I pulled out an old project and did a little stitching.

IMG_1085

Christmas at Hawk Run Hollow – block #7

Finishing this block is now within reach.  I might even get it finished before December.  (I’ll leave the year open.)

Bonnie

Friday, July 15, 2011

Another top done

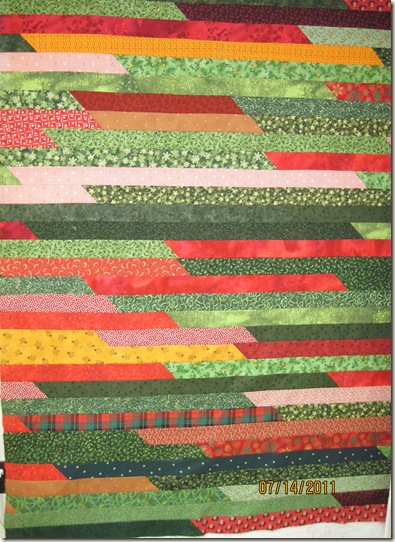
This morning I finished another quilt top -

IMG_1083

The idea came from Heirloom Creations Blog Jelly Roll 1600 Quilt.  I did not have any Jelly Rolls, but I have plenty of 2-1/2” strips in my scraps.  I was even able to stick with green, red and a couple of golds to make it a Christmas quilt.  I don’t know if I will add borders or not, but I will piece together Christmas fabric scraps for the backing.

According to the above referenced blog, one lady did this quilt (after sewing all the strips together) in 35 minutes.  Not me!!!  The first seam took me one hour due to repeated thread breaks.  The second seam took me a half hour, but then the rest went pretty quickly. 

I have also seen this quilt idea done in batiks and scrappy (with spacers instead of joining at an angle) at Exuberantcolor.blogspot.com – scroll down to July 14th and July 12th.

It is amazing that I used 1600 inches of 2-1/2” scrap strips and yet my 2-1/2” drawer is still jammed full.  I swear it mates and reproduces when I turn my back.

Bonnie

Thursday, July 14, 2011

Top Finished

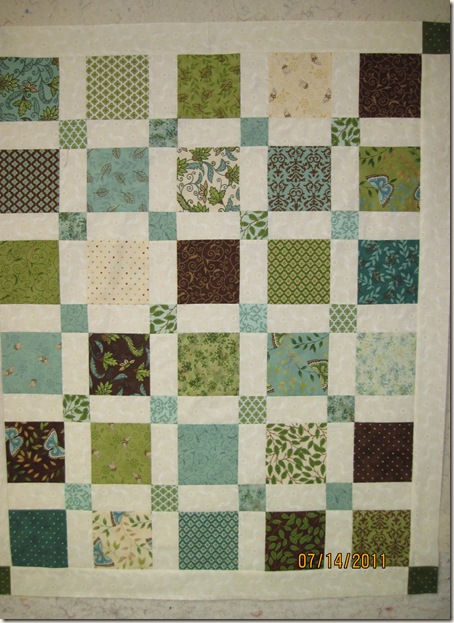
Finished – the top of this little quilt made from a charm pack – Moda’s Cherish Nature by Deb Strain.

IMG_1078

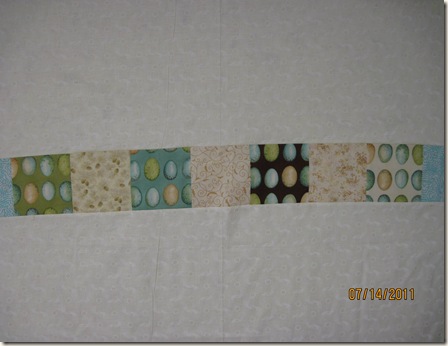
Also put together a backing using the leftover squares that didn’t particularly appeal to me – large egg shapes.

IMG_1080

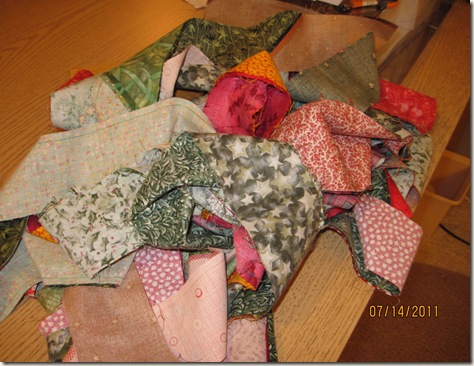
As leaders and enders I have been putting together long strips of fabric for a new project, but after having endless problems with breaking thread, I am taking a break from that project until tomorrow.

IMG_1081

Let me tell you, I taught that offending spool of thread a thing or two by flinging it across the room.  “Take that, you nasty thread!” 

Bonnie

Monday, July 11, 2011

Monday knitting…


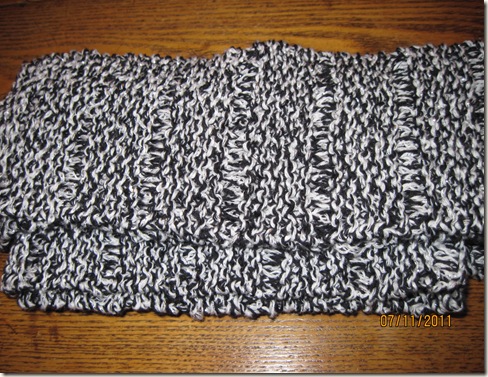
Finished a scarf today.  Black & white yarn with a silver metallic strand – Lang Wave – found in a bargain bin at a nice yarn shop for the amazing price of $1.00 per skein.

IMG_1076

Unfortunately the picture does not do the yarn justice.  The silver metallic strand does not show in a photograph and the black and white makes it look messy, however in person it looks pretty snazzy.

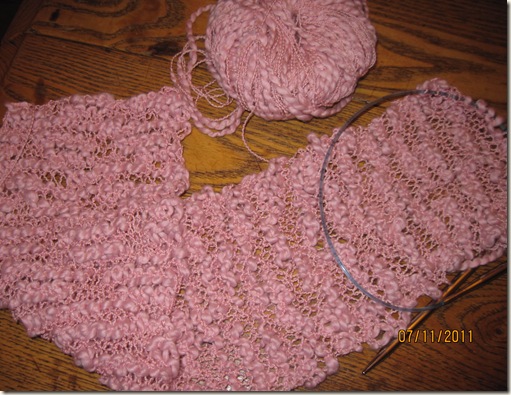
My cousin gave me this yarn for another scarf.  The yarn is so decorative all on it’s own that all I have to do is knit and it looks lacy.

IMG_1077

Knitting scarves on hot summer days reminds me that cooler weather will return some day.  (I’m not a hot weather person!)

Thursday, July 7, 2011

Getting things done

Finished…..
IMG_1064
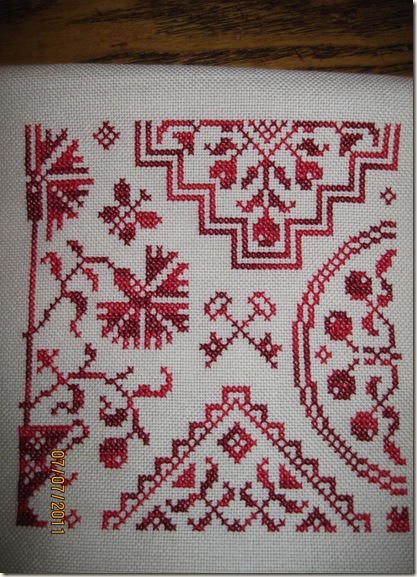
Jardin Prive – Quaker aux Chefs – stitched on Jazlyn 28ct. Ivory using Weeks Dye Works Turkish Red #2266
After finishing the above piece, I decided it was time to get back to quilting.  I stood in my Quilting Studio and looked around.  My long, long list of unfinished quilts did not interest me at all.  Instead I heard a charm pack - Moda’s Cherish Nature by Deb Strain - calling me.
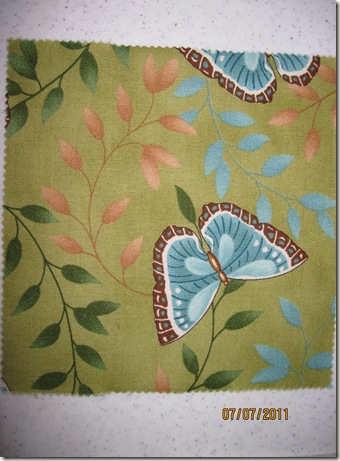
I purchased the charm pack because this green square was on top.
IMG_1070
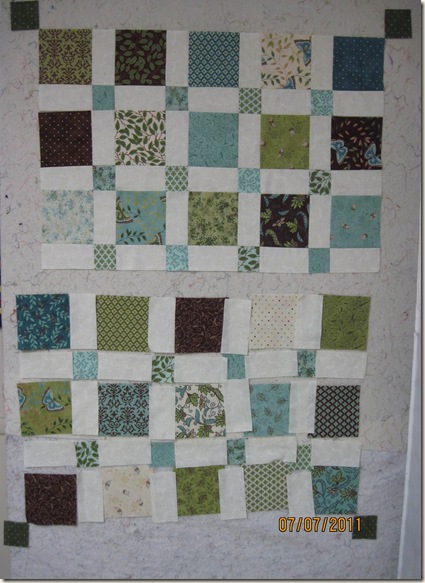
I love the olive/sage green color and purchased the package based on the top square.  Today when I opened it up and looked at all the squares, the predominate colors were turquoise and brown – not my colors at all.  However, I decided to put them all together in a simple modern quilt.
IMG_1067
I got about half of it sewn together and I am pleased with the the way it looks.
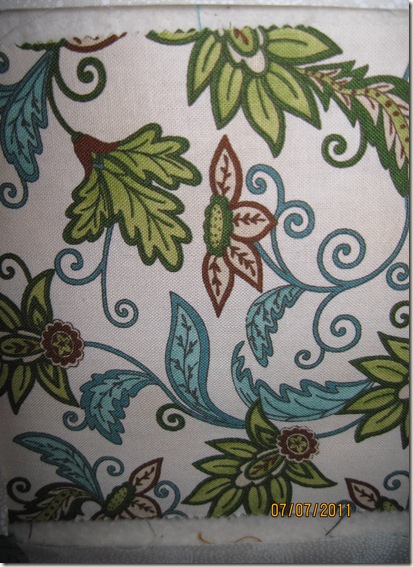
This is my very favorite pattern of all the squares.
IMG_1068
Now it is time to get some more knitting done.
Bonnie

Saturday, July 2, 2011

Weekend fun

Once I got the binding done on friend Lindsay’s second quilt,
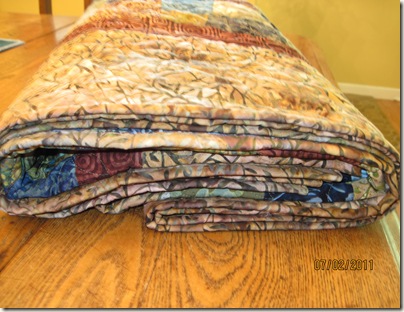
IMG_1056

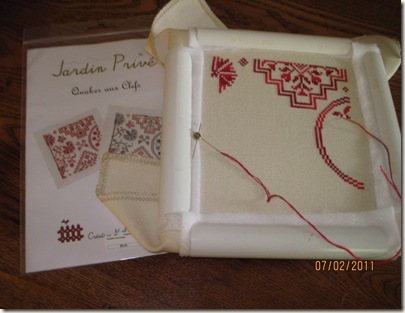
it was time to do something different.  Since I had lunch with my friend Brenda the other day, I have been itching to start a new counted cross-stitch project. 
IMG_1059-1

I am thoroughly enjoying stitching this little piece – all in one color.  Weeks Dye Works, Turkish Red , #2266. 

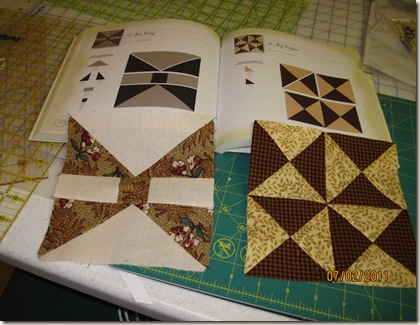
After sitting for such a long time I decided to head downstairs to my cutting table and get going on another few blocks from The Farmer’s Wife – blocks 5 & 6. 
IMG_1061

Block #5 – looks easy, right?  Not that many seams.  Confident that I could whip this baby up in no time, I proceeded and made every mistake possible.  Rip, rip, rip.  Block #6 went together without any problems except that as with all the other blocks, they do not come out to 6-1/2 unfinished.  Every single block is a smidge off from the other blocks.  If (and that is a BIG IF) I ever get to the place of putting this quilt together, the sashing is going to be very important in squaring up the blocks accurately.

Back to my red stitching…………..